I don't know what happened to June, I seem to have misplaced it somewhere.
Unfortunately I haven't been at the studio much for the past month, when I have been however, fun things have been happening.
I tried a new method of mould making and documented it so I could show you.
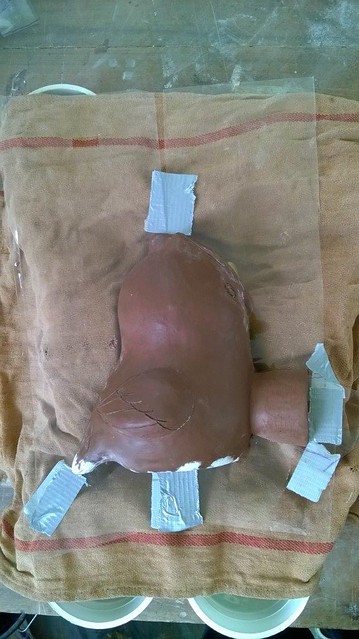
It is a two part mould of a bird which will be a birdfeeder or tea light holder when finished.
To create the split in the middle of the mould I took the original sculpture and inserted flat plastic sheets all the way round the middle.
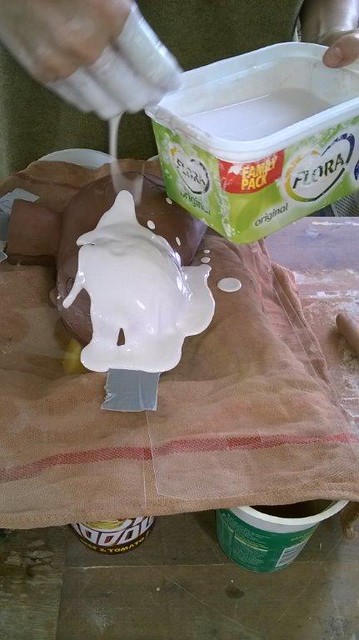
Next I mixed up some plaster to single cream consistency and dribbled it over the surface of the sculpture, this helps capture all the detail.
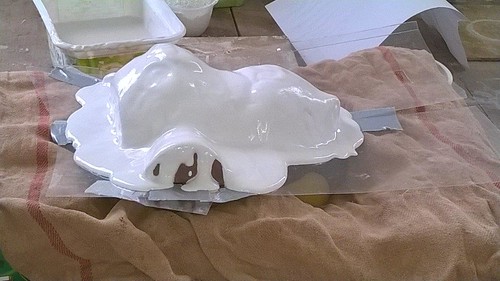
Then I waited until the plaster had set to a paste and spread it over the initial layer of plaster, it was a bit like icing a cake!

Then I waited for it to set.
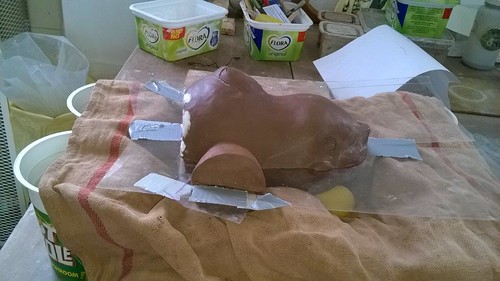
About an hour later I was able to flip the entire thing over and remove the flat plastic leaving a lovely smooth surface.
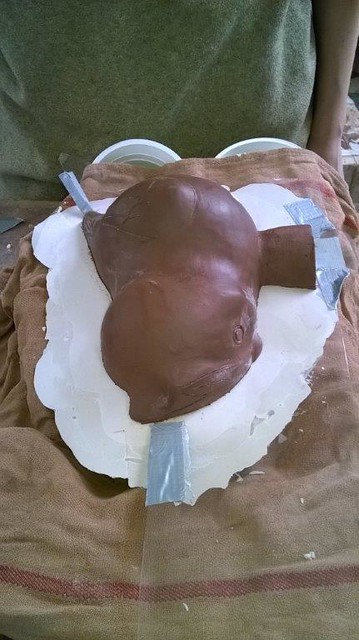
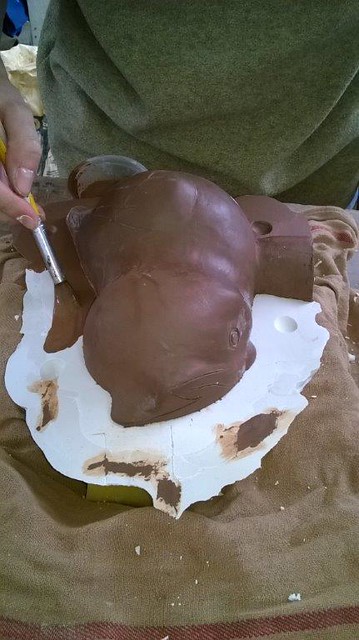
Next I cut some registration holes into the plaster using an old knife. These will help align both sides of the mould when it's being used.
And then I painted a layer of slip onto the surface of the plaster. (lots of books etc recommend things like petroleum jelly, but that's so messy and can affect the absorbency of the mould if it gets on the wrong bits, so we came up with this method at Rework.)
Then it was time to repeat the plastering steps.
First the cream...
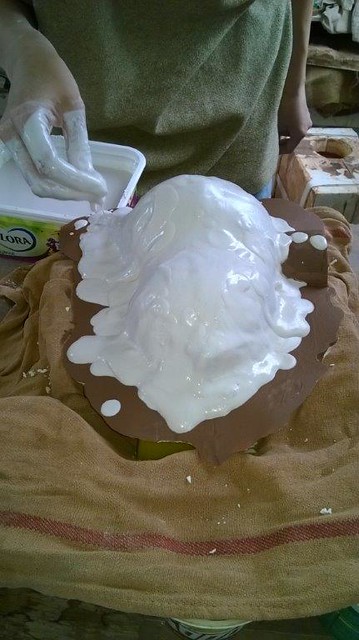
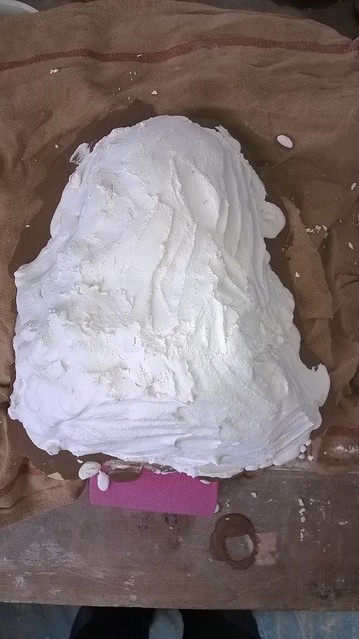
Then the paste...
Looks like a baked Alaska huh! X3
Then the whole thing was left to dry for about 2 weeks.
Today when I went in I could see the sculpture had dried out and shrunk away from the plaster, so I knew it was ready to open.
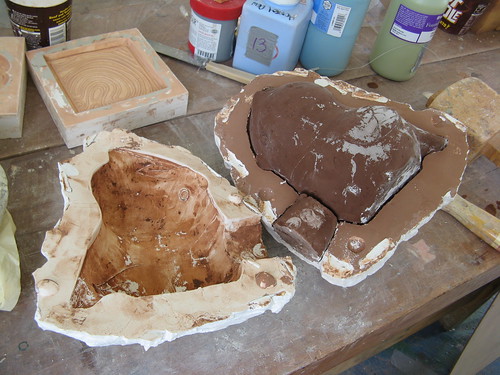
The original sculpture looks a little worse for wear, but once the mould has been tested, it'll be recycled anyway.
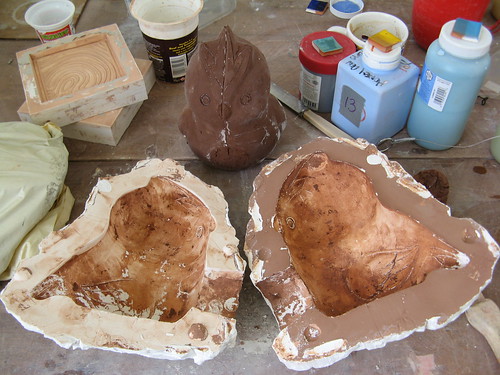
And that's about it, I cleaned up the mould and poured the first bird today. Hopefully be able to show you the results by next week. :)
I'm already preferring this method of mould making for a number of reasons.
- There is more control over the plaster. (No more plaster disasters... hopefully!
- It uses less plaster.
- The fit of the halves of the finished mould are much tighter than previous methods I've tried.
- The finished mould is lighter
- I can see the possibilities for making much more complicated moulds using this method.