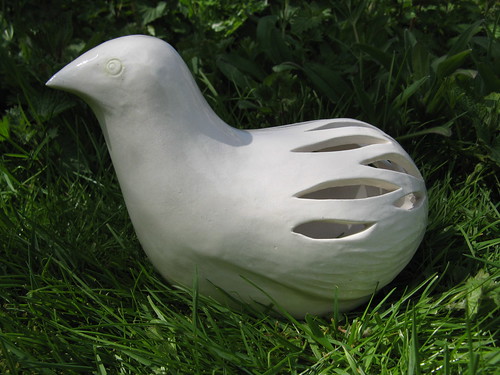
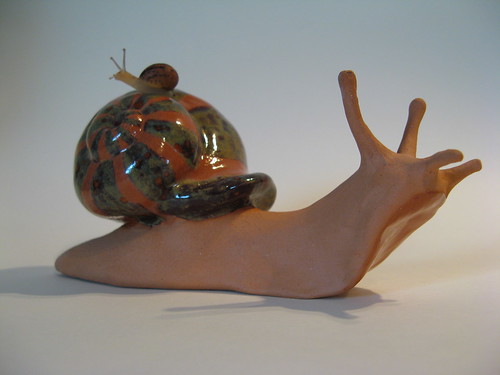
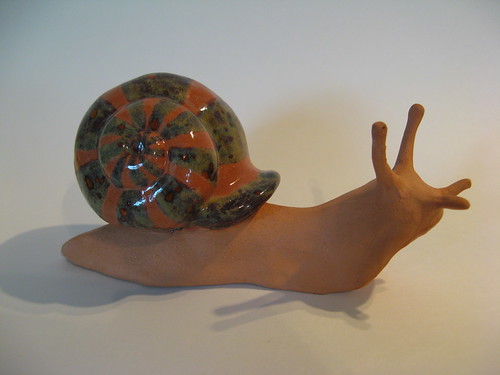
Friday, 4 July 2014

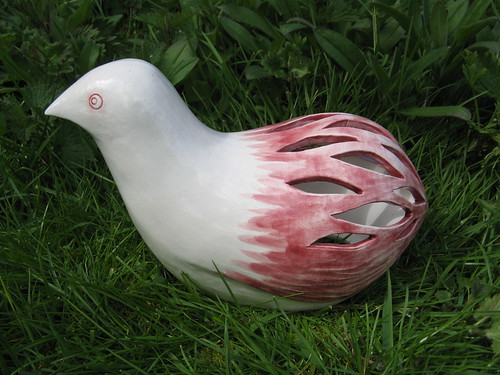
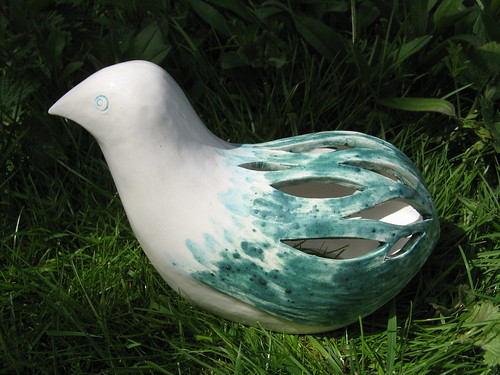
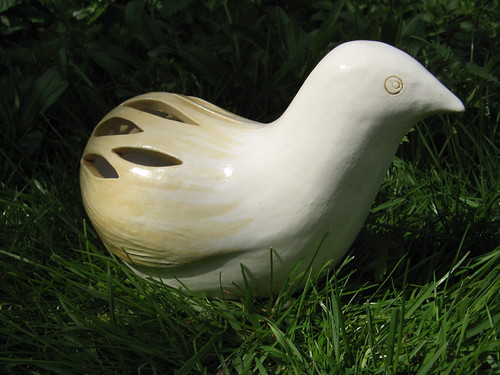
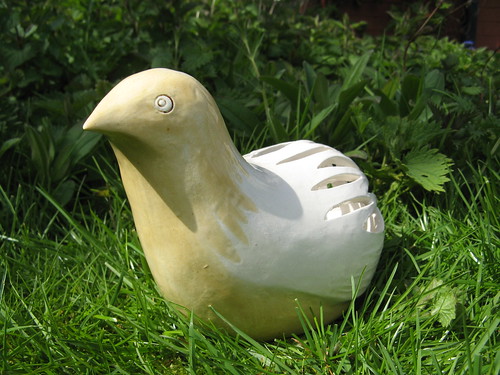
Pretty Shiny Things!

Sputnik has been busily baking away this week getting a few things finished in time for Art in the Park this weekend.

Art in the Park is a craft fair for local artists and crafters held in Caldecott Park, Rugby, Warwickshire on Sunday the 6th July from 12pm - 4pm.

The Curious Ceramics Company will have a stall there selling little bird tea lights, snail planters, plant labels, bird feeders and more  along side our sister company World of Pure Imagination selling toys and other fun stuff.

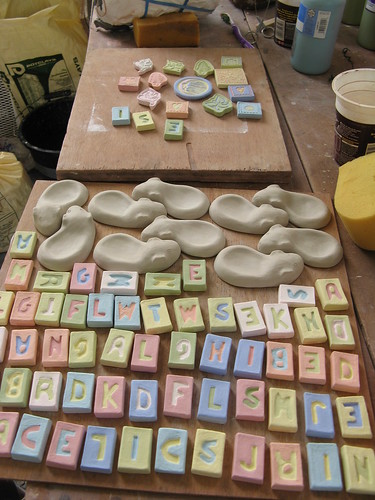
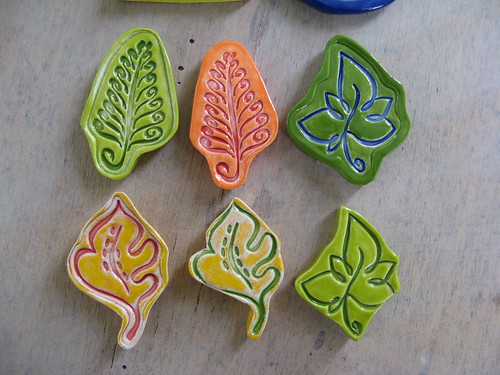
We've been making lots of letter magnets for this year's fair as they were so popular last time, here they are before firing:


IMG_5818

Each tile has to be glazed with 3 layers of glaze before it's ready to fire, so you can imagine, this little lot took us a long time!


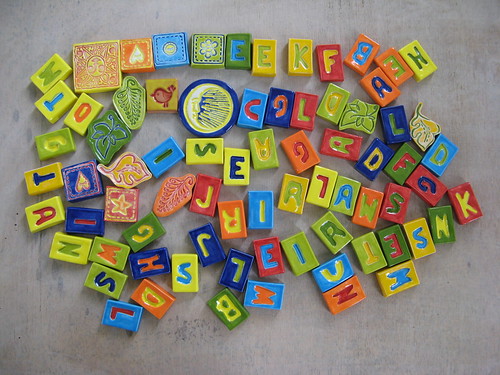
And here they are fresh from the kiln, I hope you'll agree that all that hard work glazing paid off!

IMG_5851


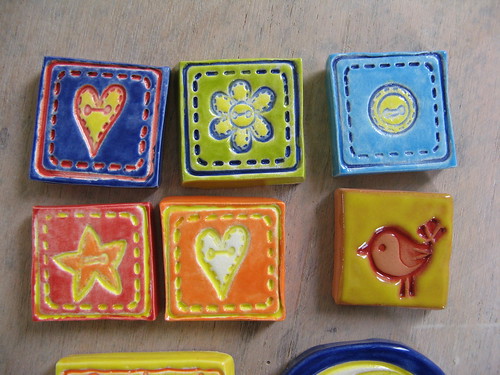
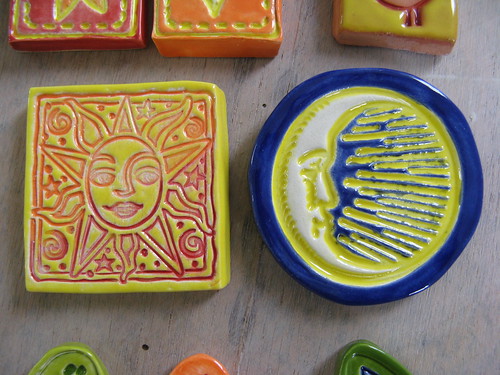
And here's some close ups:

IMG_5853


IMG_5854


IMG_5855

See you at the fair!

Wednesday, 2 July 2014

Two Part Mould Making

I don't know what happened to June, I seem to have misplaced it somewhere.

Unfortunately I haven't been at the studio much for the past month, when I have been however, fun things have been happening.

I tried a new method of mould making and documented it so I could show you.

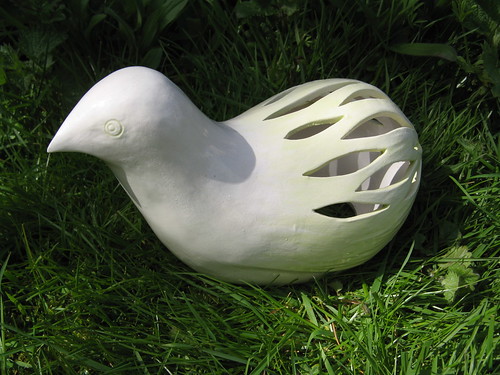
It is a two part mould of a bird which will be a birdfeeder or tea light holder when finished.

To create the split in the middle of the mould I took the original sculpture and inserted flat plastic sheets all the way round the middle.
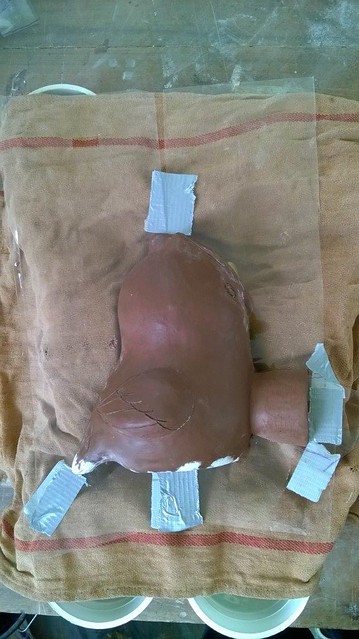
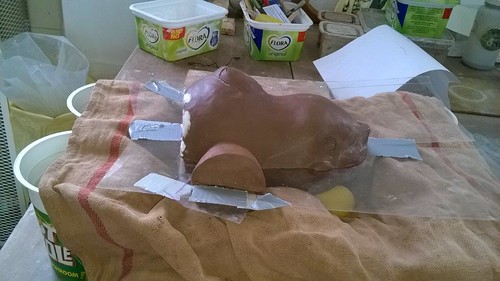
WP_20140611_11_28_50_Pro

WP_20140611_11_29_02_Pro


Next I mixed up some plaster to single cream consistency and dribbled it over the surface of the sculpture, this helps capture all the detail.
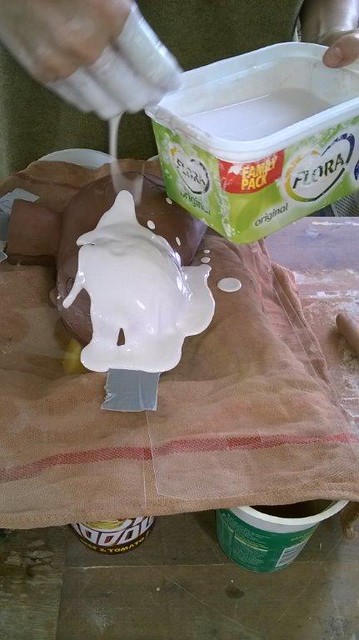
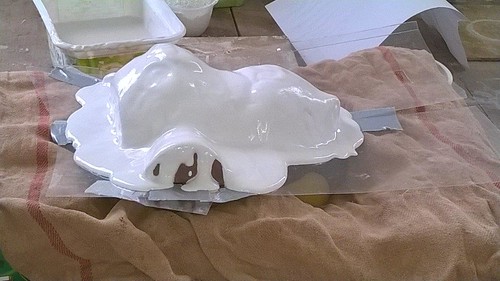
WP_20140611_11_33_40_Pro

WP_20140611_11_35_14_Pro

Then I waited until the plaster had set to a paste and spread it over the initial layer of plaster, it was a bit like icing a cake!
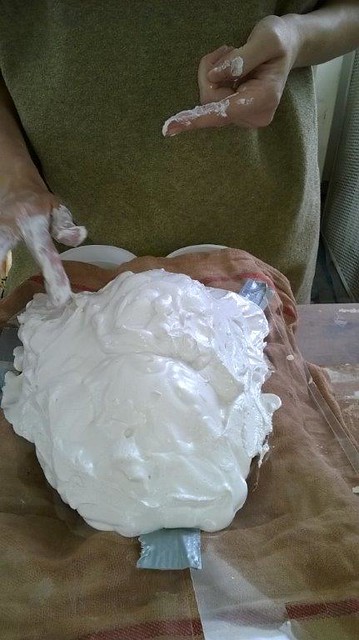
WP_20140611_11_42_58_Pro

Then I waited for it to set.

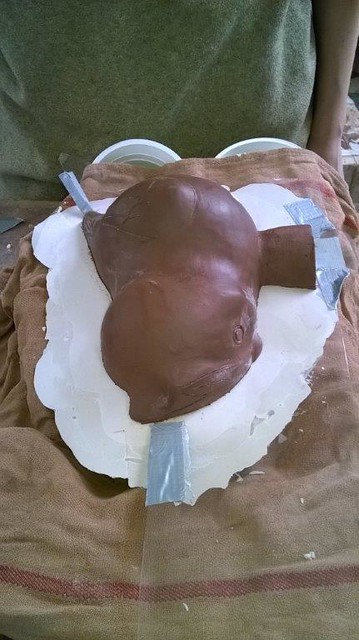
About an hour later I was able to flip the entire thing over and remove the flat plastic leaving a lovely smooth surface.
WP_20140611_13_15_28_Pro

Next I cut some registration holes into the plaster using an old knife. These will help align both sides of the mould when it's being used.
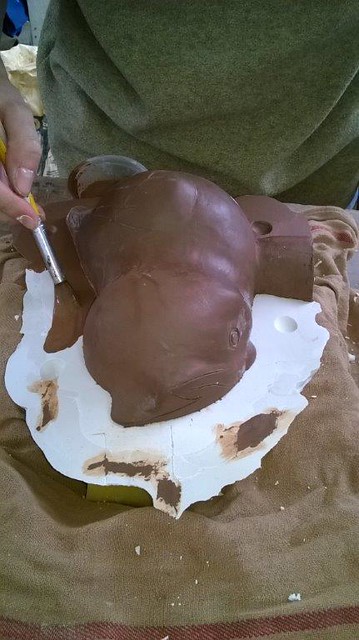
And then I painted a layer of slip onto the surface of the plaster. (lots of books etc recommend things like petroleum jelly, but that's so messy and can affect the absorbency of the mould if it gets on the wrong bits, so we came up with this method at Rework.)
WP_20140611_13_29_38_Pro

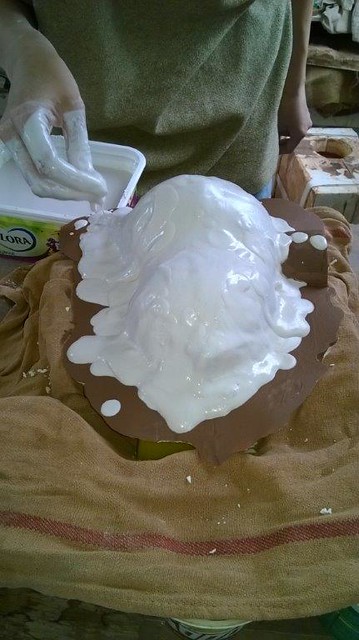
Then it was time to repeat the plastering steps.
First the cream...
WP_20140611_13_41_34_Pro

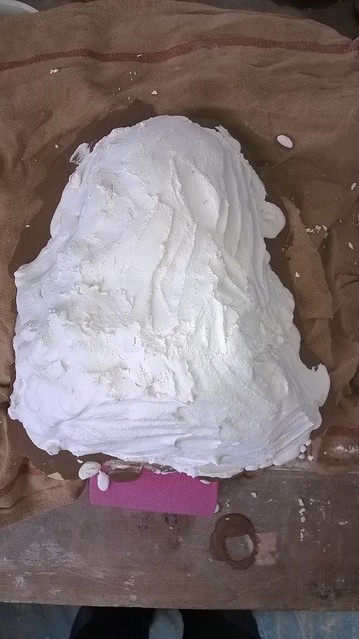
Then the paste...
Looks like a baked Alaska huh! X3
WP_20140611_13_50_24_Pro

Then the whole thing was left to dry for about 2 weeks.

Today when I went in I could see the sculpture had dried out and shrunk away from the plaster, so I knew it was ready to open.
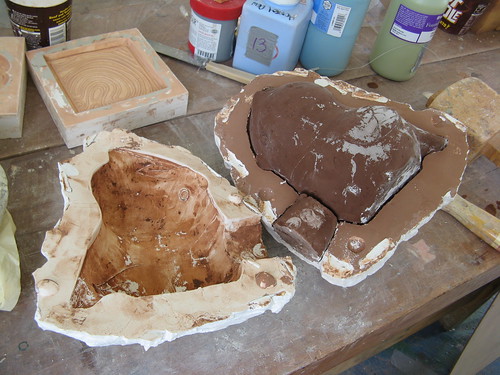
IMG_5815

The original sculpture looks a little worse for wear, but once the mould has been tested, it'll be recycled anyway.
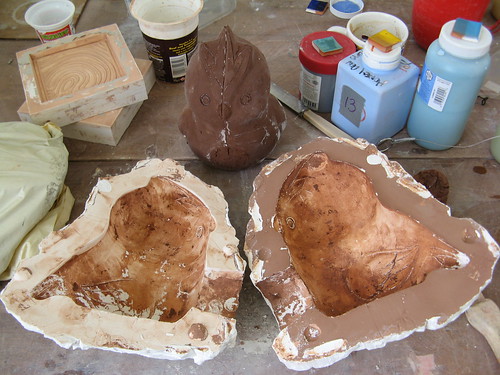
IMG_5816

And that's about it, I cleaned up the mould and poured the first bird today. Hopefully be able to show you the results by next week. :)

I'm already preferring this method of mould making for a number of reasons.

- There is more control over the plaster. (No more plaster disasters... hopefully!
- It uses less plaster.
- The fit of the halves of the finished mould are much tighter than previous methods I've tried.
- The finished mould is lighter
- I can see the possibilities for making much more complicated moulds using this method.
 

Tuesday, 27 May 2014

Slow News Week

Things are slow as a ceramic snail here at the CCC at the moment. I've hardly had a spare moment to spend in the studio.

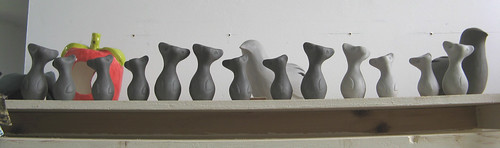
Last time I was there I noticed that the curious stoat sculptures seem to have been breeding. :)

Curious Stoats

It's hard to believe that last time I was at the studio is was glorious sunny weather, (It's been lashing it down non-stop the last few days here)
We picnicked outside for dinner and then took a tour of the grounds to see what we could find.

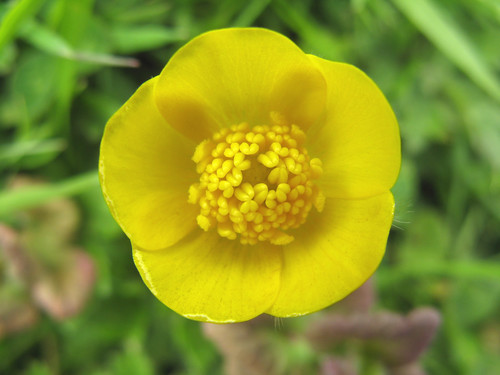
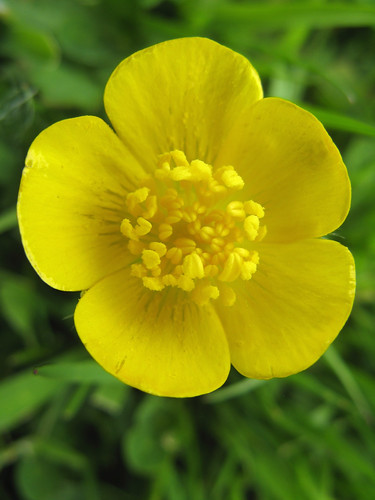
buttercup1
Buttercup

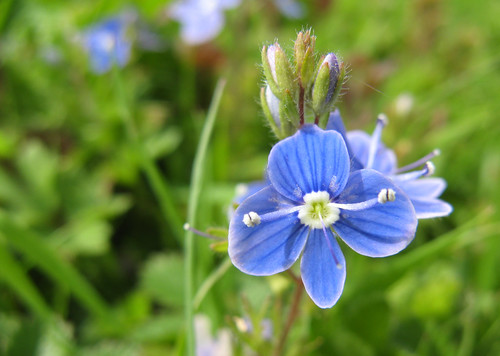
speedwell
Speedwell

buttercup2
Buttercup

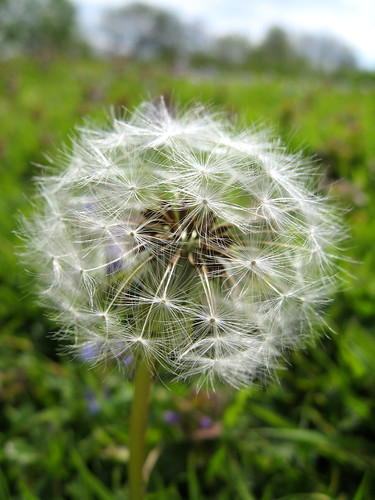
dandelion clock
Dandelion

Wednesday, 21 May 2014

Monty Don's Real Craft - Pottery

Monty Don's whole Real Craft series has been fantastic but of course here at the CCC we've found the pottery one most interesting.

It's well worth a watch:
Monty Don's Real Craft - Pottery

I feel for those potters struggling with the fickle whims of the kiln.

I especially enjoyed seeing Monty Don having a go at slip casting since that is the CCC's main area of ceramics.
I think slip casting is often thought of as being easier and less hand crafted than thrown ceramics, but even that tiny glimpse into slip casting shows you it still takes a great deal of skill.
And that didn't even show the process of making the slip mould! (Something I shall be documenting here so keep your eyes peeled for that. ;))

Sunday, 18 May 2014

Little Birds Running Wild

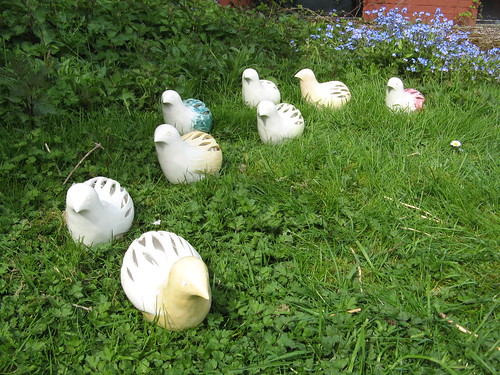
 It's about time I showed you how my Little Birds came out of the glaze firing!

Well here they are, a whole flock of Little Birds!
IMG_5131

I have to admit the results of the glaze fire were rather mixed and not as good as I hoped. I'm not sure what went wrong, it's a combination of things including getting to know my kiln, some old glaze not firing right and my trying to be fancy when applying glaze. XD"

But where's the fun if you don't experiment right?

IMG_5165

I wanted to have some with delicate green glaze, I tried one with the usual 3 coats and one I glazed and then wiped back to try and give it a more weathered look. Unfortunately neither worked out, both came out much too pale, I think this was caused by them being in a lower cooler place in the kiln as the same glaze fired fine higher in the kiln.

IMG_5145

This red bird shows the worn back look I was trying to achieve with the green bird better, but I think the red colour is too strong in the end.

IMG_5136

This poor fella was the worst one, The glaze did not fire well at all. >_<"

IMG_5152

Finally a birdy that came out well!

IMG_5143

The gold bummed and gold headed birds are definitely my favourite of the bunch!


IMG_5157


And then there is a plain elegant white glazed bird. I did try and put a little colour to highlight the eye but it was that pale green which didn't fire properly so ah well.

So it has been an interesting experiment, next time I plan to try a few different things to hopefully get better results.

I'd love to know your thoughts on these first attempts tho! :)


Sunday, 11 May 2014

Acorn in Action

With thanks to the lovely Pat for the photo (and buying an acorn feeder) take a look at an Acorn Birdfeeder in place!


I hope the birds are enjoying it! :)

Sunday, 4 May 2014

Snail Obsessed?

Some could claim I'm a bit obsessed by snails.
All I can say is they are pretty awesome creatures!

Here's a snail I made earlier, it was one of the last things I made at Rework in fact.

IMG_1862

I was rather pleased with how the shell worked out on him. :)

IMG_1831

This fella's only little, but one day I hope to make a giant snail using the snail shell mould.