Wednesday, 30 September 2015

Hedgehog Family

Today seemed a good day to reveal some hedgehoggy ceramics as I got video of my real life hedgehog friend Pog for the first time last night!
(Pog's first video)

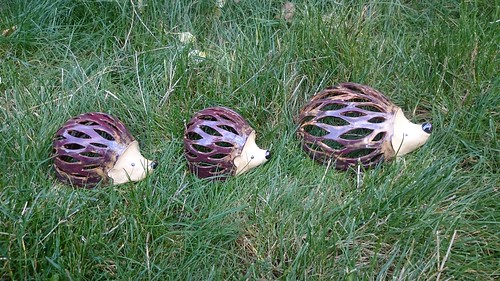
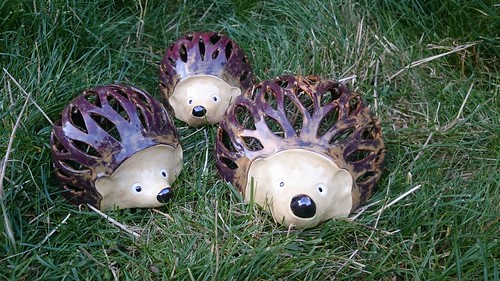
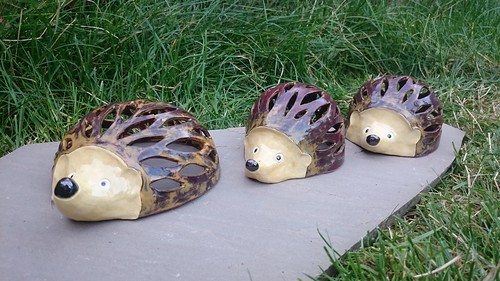
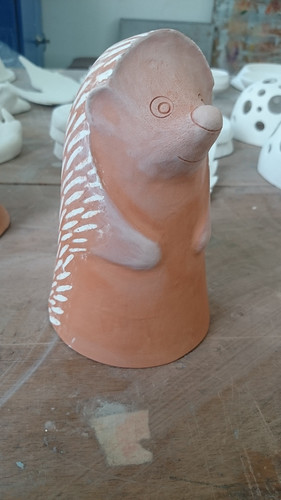
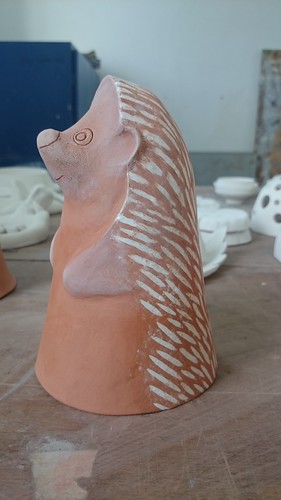
I've always been a fan of hedgehogs so when we were trying to decide what to do with some slip cast tea light domes that had gone a bit past leather hard I decided they might look cute as hedgehogs.

I think they make a cute family, don't you?

DSC_0147

DSC_0149

DSC_0134

One of the small hedgehogs has already been rehomed, but Momma hedgehog and the other baby are available to buy.

Momma has a slight crack which is unnoticeable under the glaze but these are not frost proof so for summer or indoor use only just to be safe.

A tea light underneath looks lovely, it can make the ceramic hot though so care should be taken.
They make fun ornaments just as they are too!

Momma hog is approx. 19x16cm and 10cm tall  and costs £15
Baby Hog is approx 15x12cm and 8cm tall and costs £10
If you want both I'd consider a discount.

These are one of a kind, designed,  hand sculpted and hand glazed by me.


Tuesday, 29 September 2015

Totoro Incence Burner

We've done a glaze firing, rather than post everything at once I'll make several themed posts to show you what we've made.

Some items will be for sale so do get in touch.

This first one however is a little personal project.
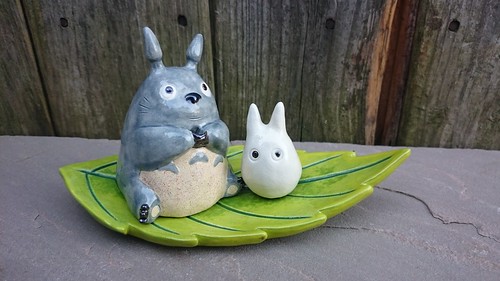
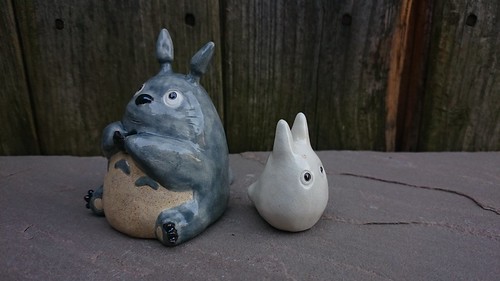
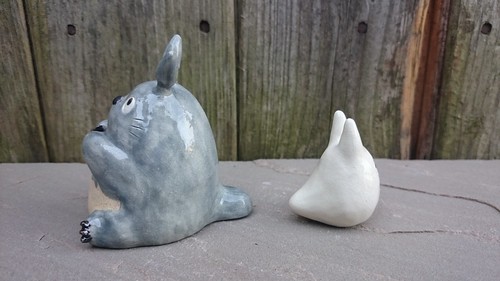
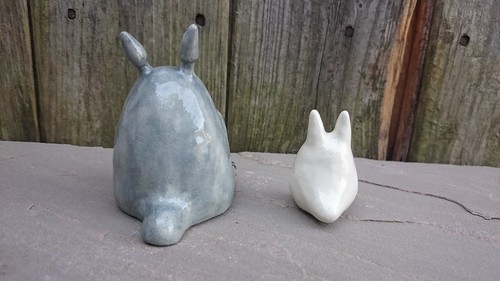
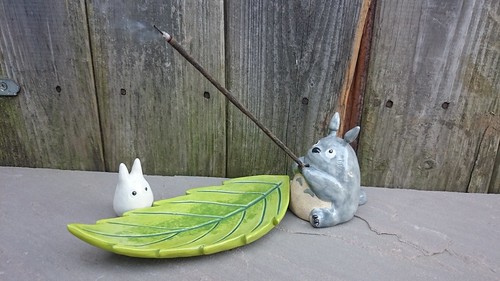
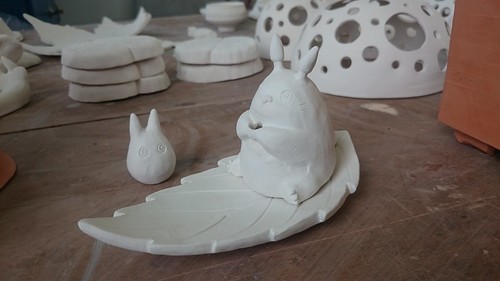
I'm a huge fan of Totoro from Studio Ghibli's movie, My Neighbour Totoro and I've made ceramic versions of him before. When I realised I needed an incense burner and something to catch the ash I knew I wanted it to be shaped like Totoro. I made a leaf to catch the ash and there's even a little Sho who can be used to stub out if I only want to burn half a stick of incense.


DSC_0266

DSC_0275

DSC_0276

DSC_0274

DSC_0281

Sunday, 5 July 2015

One Year Later...

Wow it's almost a year exactly since I wrote a post here!
It's taken that long to make enough to fill the kiln!

Kiln load bisque

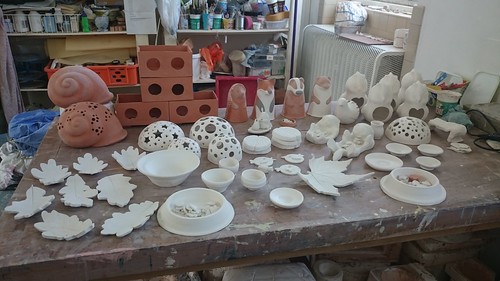
We have planters, garden ornaments, pet bowls, leaf bowls, bird feeders, some thrown dishes, soap dishes, tea light holders, and various other random bits.

Here's Totoro and Shuu, incense holder and snuffer.

Totoro and Shuu incense holder and snuffer

Hedgehog garden ornament, my first attempt and inlaying slip of a different colour, I am pleased with the result.

Hedgehog Garden Ceramic

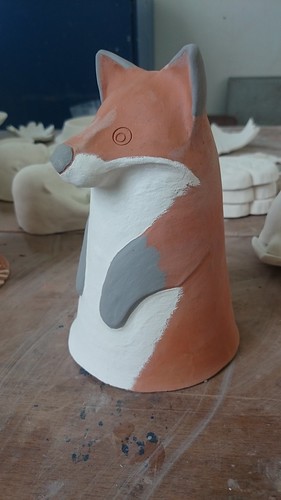
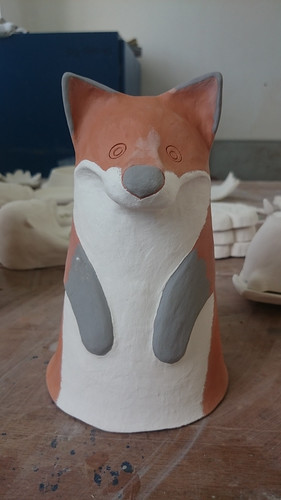
Fox garden ornament, first time using coloured slips, pleased with the results.

Fox Garden Ceramic
Fox Garden Ceramic

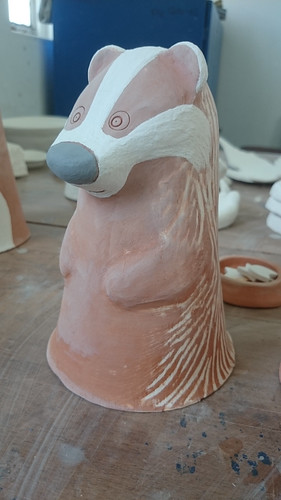
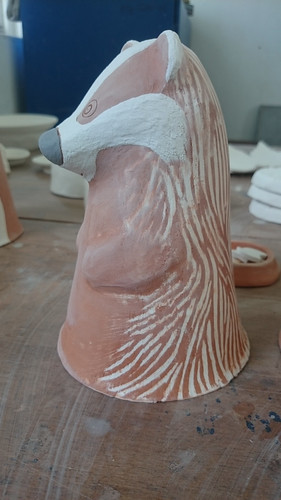
Badger garden ornament, more slip inlay and slip decoration. the slip decoration was put on when the greenware was too dry and this means it's cracking away from the base in places after firing unfortunately.

Badger Garden Ceramic

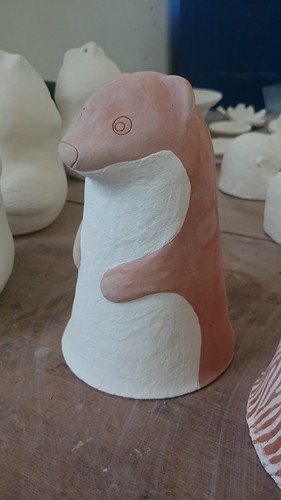
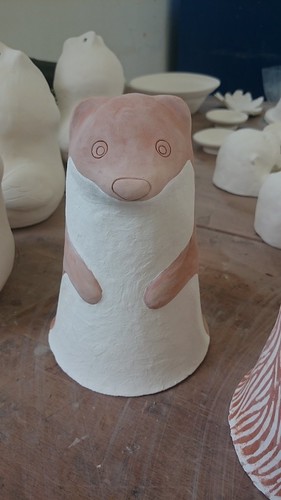
Stoat garden ornament, had more trouble with the slip cracking away again on this one.

Stoat Garden Ceramic

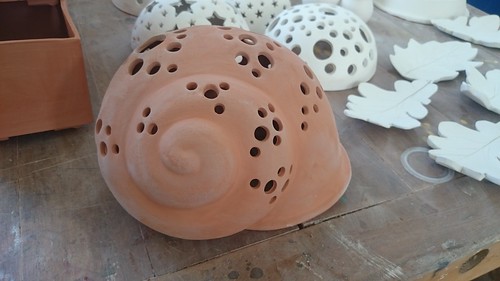
Another version of the snail shell garden ornament.

Ceramic Snail Garden Ornament

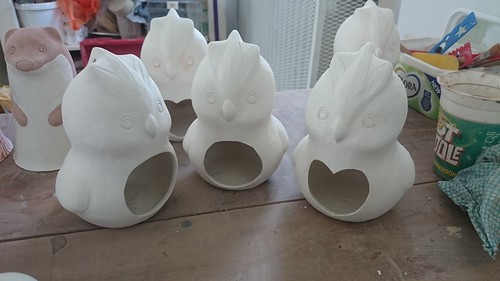
Bird bird-feeders. X3

Bird Birdfeeders

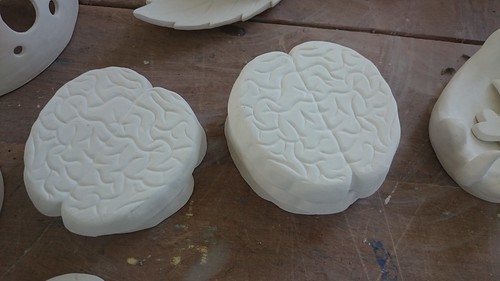
Brain coasters!

Brain Coasters

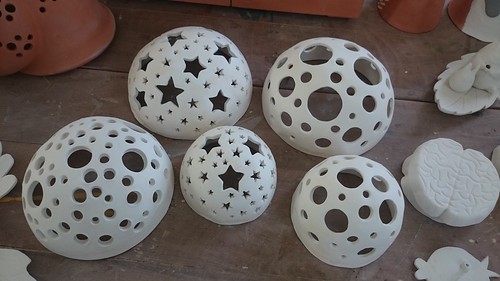
Tea light holders.

Tea Light ornaments

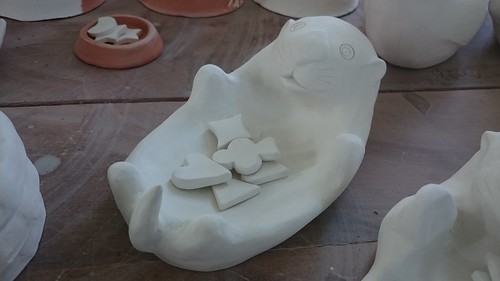
And a sea otter soap dish!

Sea Otter Soap Dish 2


Now we've got a lot of glazing to do!

Monday, 7 July 2014

Art in the Park

Thanks to everyone who came along to the park on Sunday afternoon.
The weather stayed fine and it was a great afternoon chatting with everyone who came by.
IMAG0454
IMAG0455
IMAG0456

Our next fair is in October, I'll post details closer to the time!

Friday, 4 July 2014

Pretty Shiny Things!

Sputnik has been busily baking away this week getting a few things finished in time for Art in the Park this weekend.

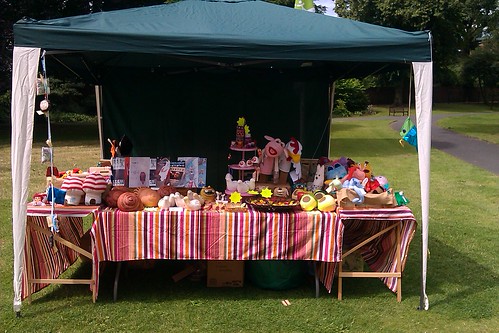
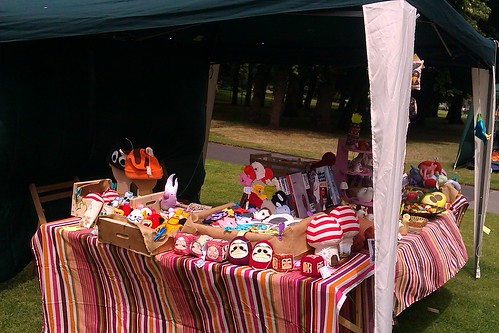
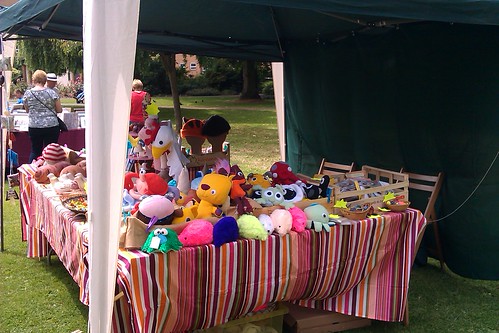
Art in the Park is a craft fair for local artists and crafters held in Caldecott Park, Rugby, Warwickshire on Sunday the 6th July from 12pm - 4pm.

The Curious Ceramics Company will have a stall there selling little bird tea lights, snail planters, plant labels, bird feeders and more  along side our sister company World of Pure Imagination selling toys and other fun stuff.

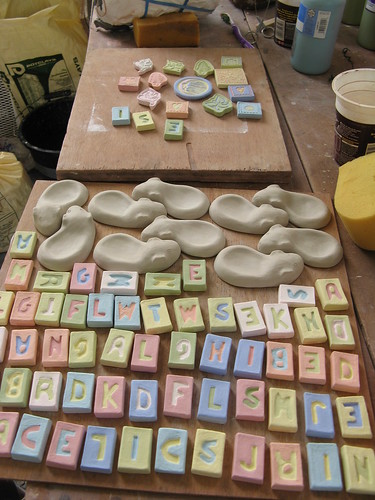
We've been making lots of letter magnets for this year's fair as they were so popular last time, here they are before firing:


IMG_5818

Each tile has to be glazed with 3 layers of glaze before it's ready to fire, so you can imagine, this little lot took us a long time!


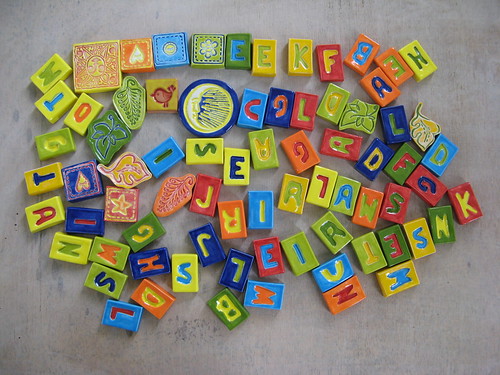
And here they are fresh from the kiln, I hope you'll agree that all that hard work glazing paid off!

IMG_5851


And here's some close ups:

IMG_5853


IMG_5854


IMG_5855

See you at the fair!

Wednesday, 2 July 2014

Two Part Mould Making

I don't know what happened to June, I seem to have misplaced it somewhere.

Unfortunately I haven't been at the studio much for the past month, when I have been however, fun things have been happening.

I tried a new method of mould making and documented it so I could show you.

It is a two part mould of a bird which will be a birdfeeder or tea light holder when finished.

To create the split in the middle of the mould I took the original sculpture and inserted flat plastic sheets all the way round the middle.
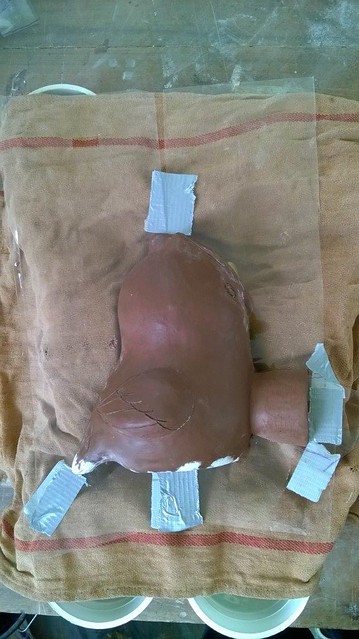
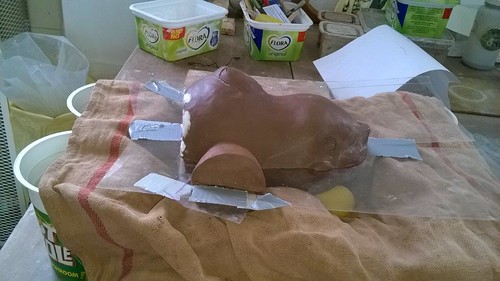
WP_20140611_11_28_50_Pro

WP_20140611_11_29_02_Pro


Next I mixed up some plaster to single cream consistency and dribbled it over the surface of the sculpture, this helps capture all the detail.
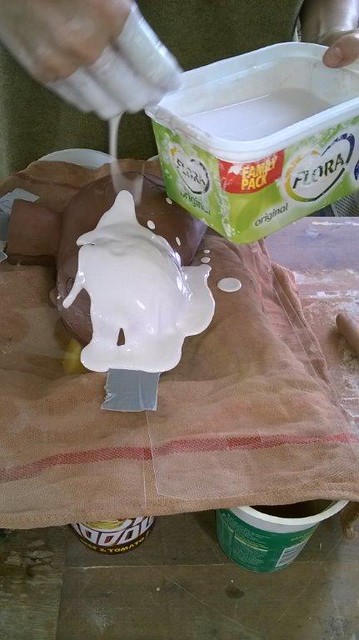
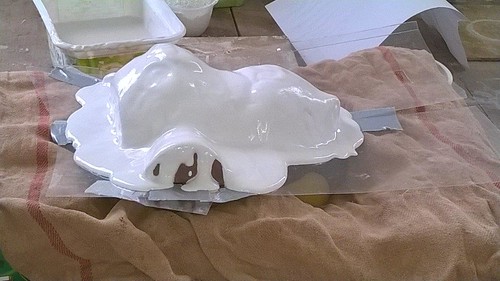
WP_20140611_11_33_40_Pro

WP_20140611_11_35_14_Pro

Then I waited until the plaster had set to a paste and spread it over the initial layer of plaster, it was a bit like icing a cake!
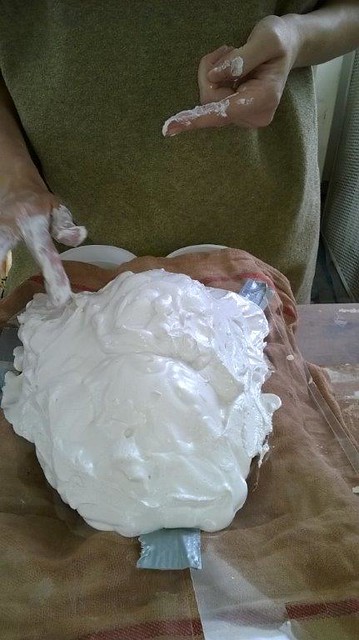
WP_20140611_11_42_58_Pro

Then I waited for it to set.

About an hour later I was able to flip the entire thing over and remove the flat plastic leaving a lovely smooth surface.
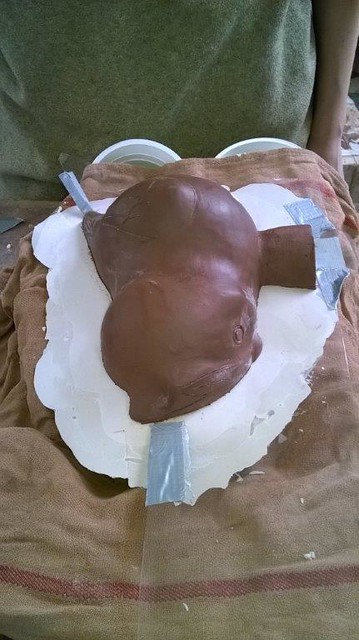
WP_20140611_13_15_28_Pro

Next I cut some registration holes into the plaster using an old knife. These will help align both sides of the mould when it's being used.
And then I painted a layer of slip onto the surface of the plaster. (lots of books etc recommend things like petroleum jelly, but that's so messy and can affect the absorbency of the mould if it gets on the wrong bits, so we came up with this method at Rework.)
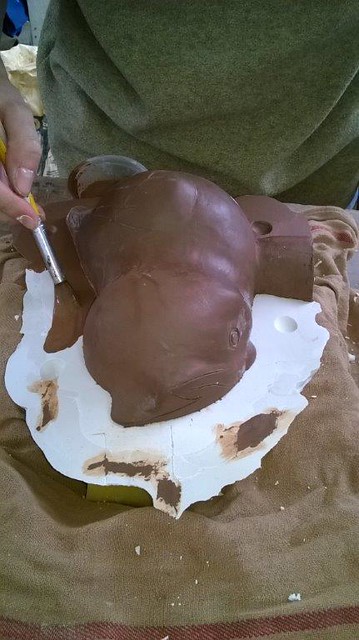
WP_20140611_13_29_38_Pro

Then it was time to repeat the plastering steps.
First the cream...
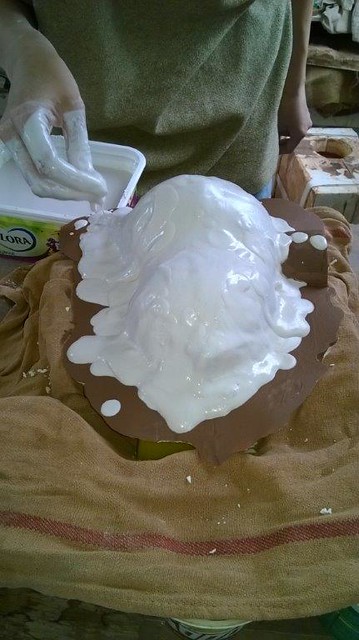
WP_20140611_13_41_34_Pro

Then the paste...
Looks like a baked Alaska huh! X3
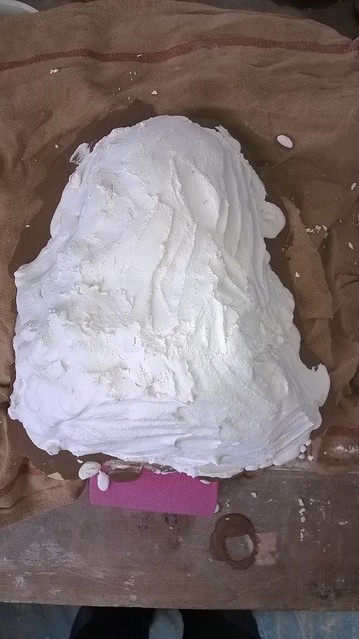
WP_20140611_13_50_24_Pro

Then the whole thing was left to dry for about 2 weeks.

Today when I went in I could see the sculpture had dried out and shrunk away from the plaster, so I knew it was ready to open.
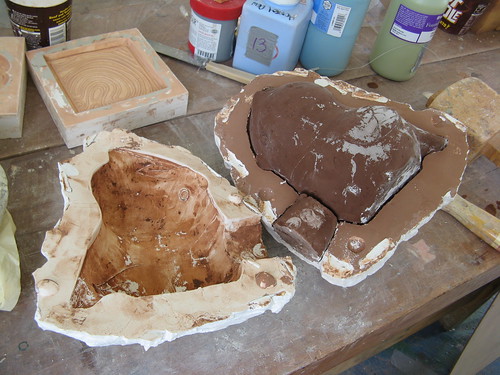
IMG_5815

The original sculpture looks a little worse for wear, but once the mould has been tested, it'll be recycled anyway.
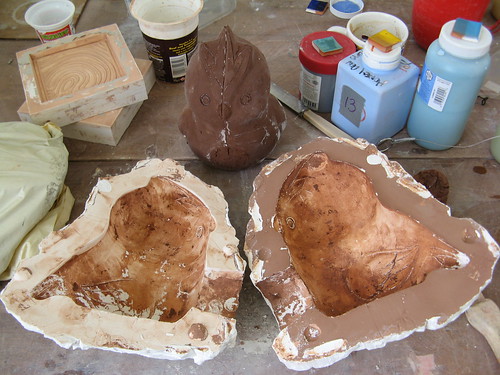
IMG_5816

And that's about it, I cleaned up the mould and poured the first bird today. Hopefully be able to show you the results by next week. :)

I'm already preferring this method of mould making for a number of reasons.

- There is more control over the plaster. (No more plaster disasters... hopefully!
- It uses less plaster.
- The fit of the halves of the finished mould are much tighter than previous methods I've tried.
- The finished mould is lighter
- I can see the possibilities for making much more complicated moulds using this method.
 

Tuesday, 27 May 2014

Slow News Week

Things are slow as a ceramic snail here at the CCC at the moment. I've hardly had a spare moment to spend in the studio.

Last time I was there I noticed that the curious stoat sculptures seem to have been breeding. :)

Curious Stoats

It's hard to believe that last time I was at the studio is was glorious sunny weather, (It's been lashing it down non-stop the last few days here)
We picnicked outside for dinner and then took a tour of the grounds to see what we could find.
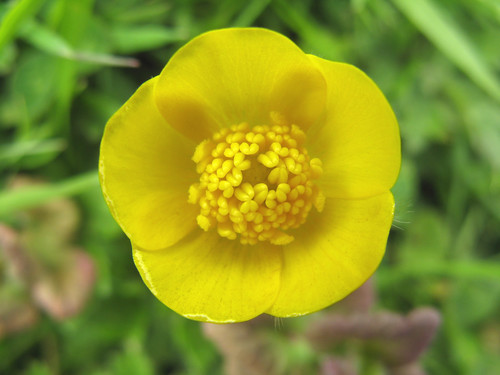
buttercup1
Buttercup

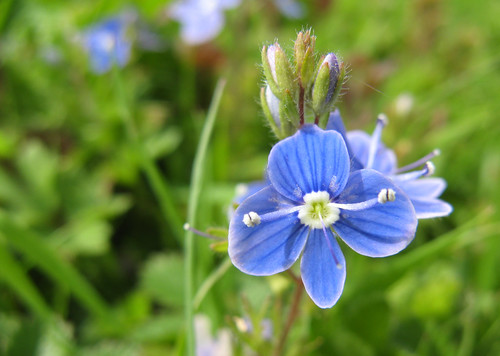
speedwell
Speedwell

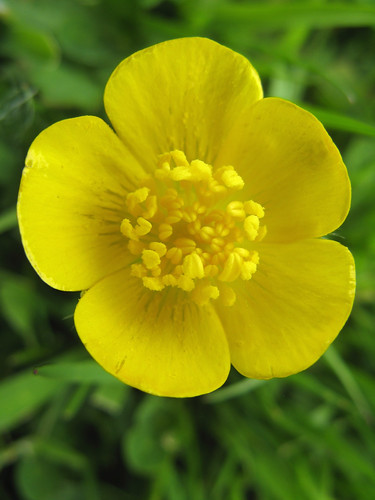
buttercup2
Buttercup

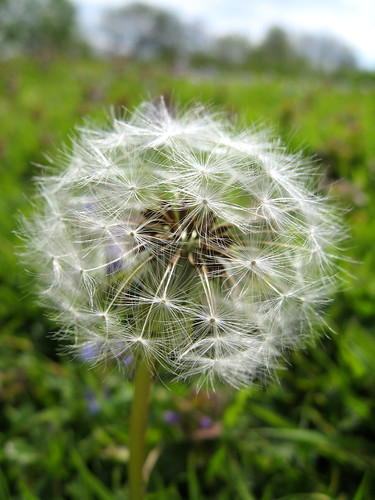
dandelion clock
Dandelion