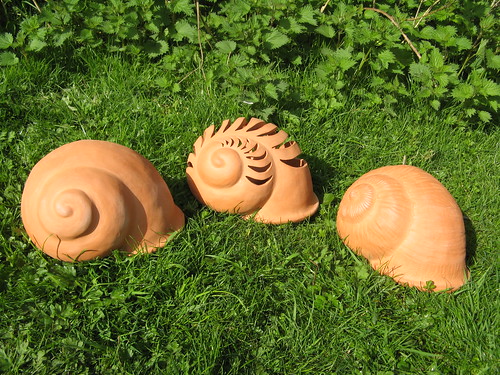
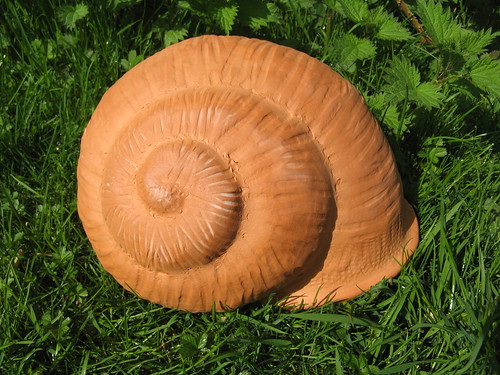
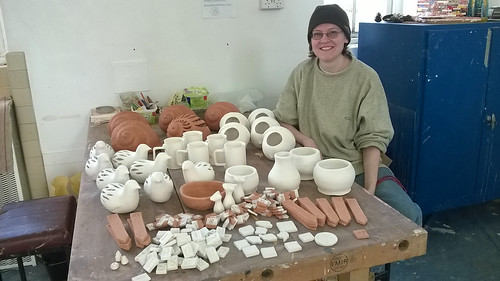
For those of you not able to make it to the exhibition, here's a close up of the freshly glazed snail shells and a little more info on each one.
This first snail is my least favourite, aww poor snail, so he gets to go first as compensation.
The marks on his shell were made with a wooden fork and other similar wooden clay shaping tools.
It was hard to get a smooth spiral in the end.
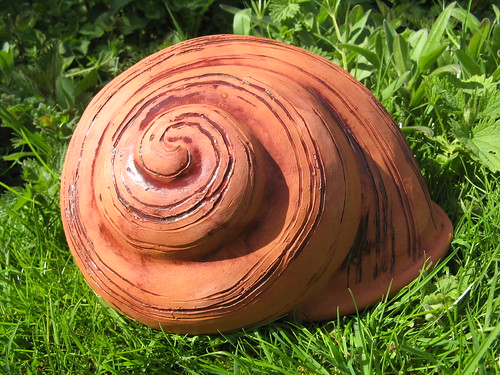
Second we have smooth snail. This snail ended up working out better than I had expected. Once it was fired I thought the plain shell was a bit dull, so I added clear glaze over parts of the shell. I really like how it turned out in the end, it looks particularly good when the sun catches it and brings out the richness of the terracotta. :)
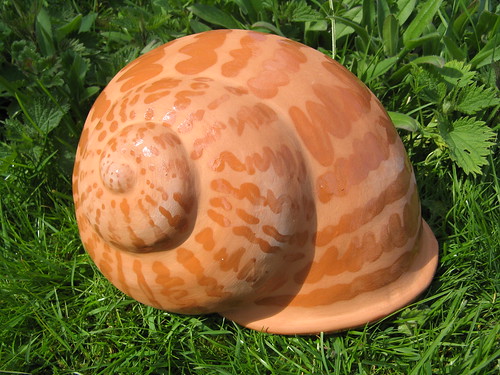
This snail was beaten up by a spatula with string wrapped around it. The texture was a bit too subtle to give the a good depth of texture for the glaze to lay in so it wasn't as successful as I'd hoped.
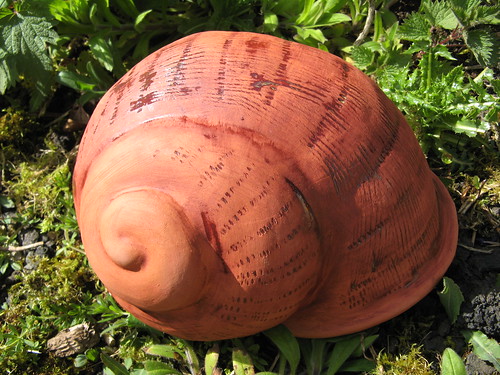
And finally, my favourite of the bunch!
The texture on this snail shell was made using another shell! A large clam shell to be precise. It was the hardest one to texture without cracking the moulded structure but I love the end results!
I used a smaller clam for the finer texture round the lip of the snail shell.
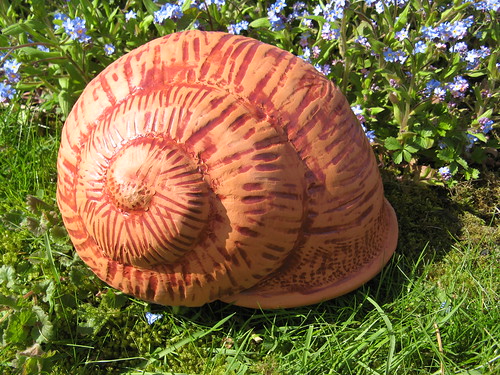
In case you're wondering, here's how the bottom of the shell looks.
You could even lay them on their sides or at an angle and use them as planters. :)
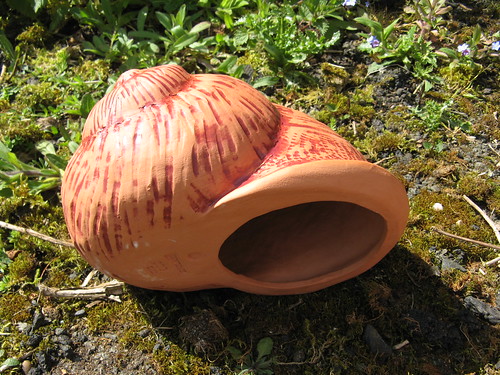
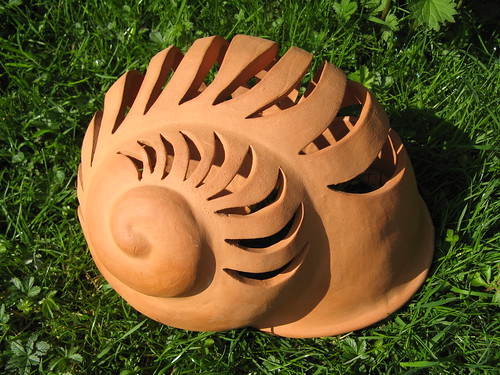
Ok I know I already said 'and finally' but we mustn't forget ole gappy here.
I like how this shell looks so it didn't need to be glazed.
So which shell is your favourite?
Leave a comment and let me know. :)
Wednesday, 30 April 2014
Saturday, 26 April 2014
New Blog Logo
While working on the logo for The CCC I thought I'd make a nice title for this blog too.
Hope you like it! :)
Tuesday, 22 April 2014
Lutterworth Exhibition
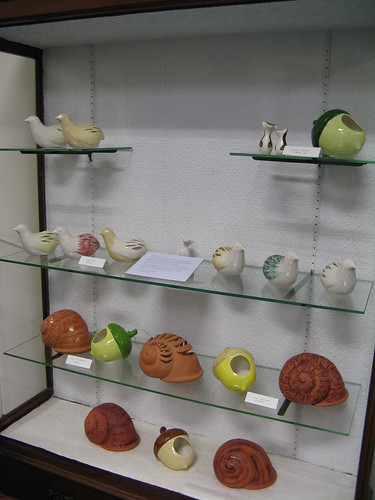
The Grid Studios currently has an exhibition at the One Stop Shop and Museum in Lutterworth and work from the CCC is now on display as part of the exhibition.
The exhibition runs until the end of May and all CCC pieces are for sale as are some of the works from other members of the Grid, so all in all, it's worth a visit! :)
Visit the One Stop Shop website for opening times and location.
The exhibition runs until the end of May and all CCC pieces are for sale as are some of the works from other members of the Grid, so all in all, it's worth a visit! :)
Visit the One Stop Shop website for opening times and location.
Friday, 18 April 2014
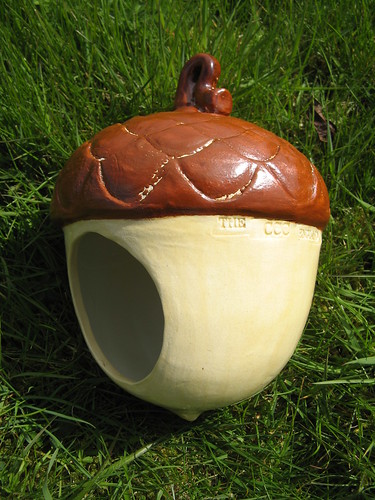
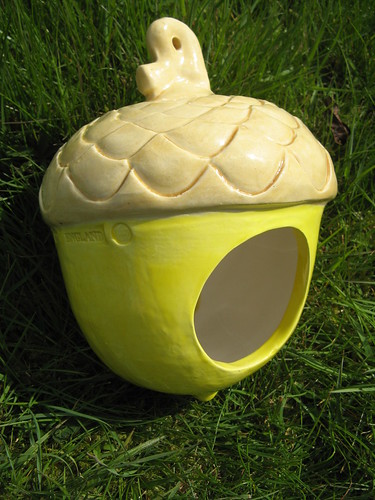
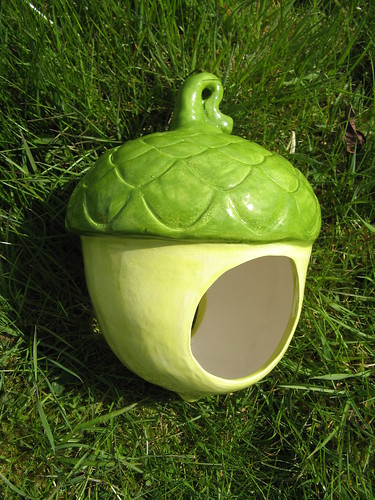
Acorns
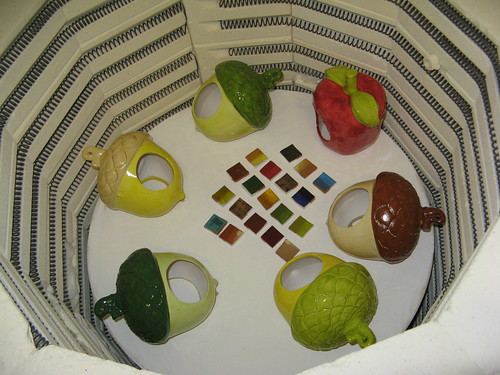
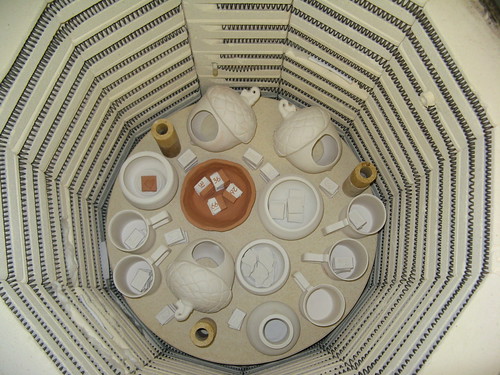
This morning I heaved open Sputnik's lid to find shiny treasures awaiting me. :)
I was worried the acorns might have stuck to the stilts as it was very tricky balancing them on top, but my worries were unfounded and the stilts came away beautifully. :)
I was really pleased with the colours too.
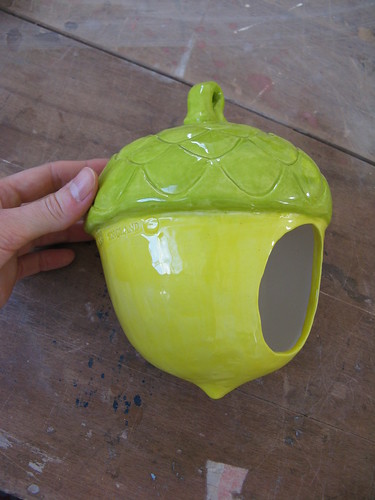
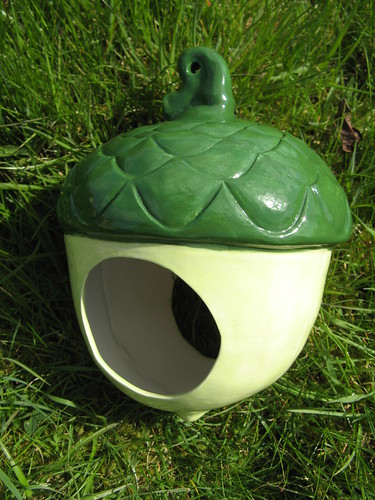
These acorns are bird feeders.
I designed, sculpted and made the mould for them at Rework, we were just expanding our range when we got closed down sadly. However I'm glad to be able to continue making them here at The Curious Ceramics Company.
This one sold so fast, I didn't even get to take it out for a proper photo shoot. :)
We're busy testing glazes so hopefully some other colour ways will also be possible. :)
Thursday, 17 April 2014
Snail Friends
It's no secret, I'm a big fan of snails! I even have a tank of snails on my worktop right now. I've heard them crunching on crispy veggies, seen them mating, had baby snails hatch and even been bitten by a snail! (It tickled! :3) So it's no great surprise the snail has inspired me in my ceramics.
The snail shell mould is the biggest I've made so far. Being short of plaster I cast it directly from the original clay sculpture rather than using the waste mould method. It's a bit rough and ready, but being a big sculpture it's easier to clean off the blemishes from casting. :)
I'm still experimenting with what to do with the surface of the shell.
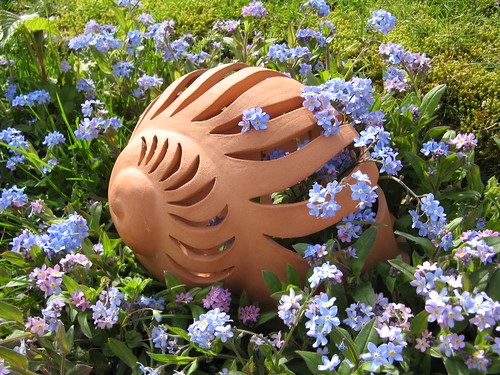
I love the idea of plants growing up and through the shell and am pleased with how the cut shell looks.
It could also make a nice tea light.
On other shells I've experimented with adding texture.
Next I'm trying out using glaze to highlight the textures.
I'm hoping these snails are the kind you will want to invite into your gardens! :)
Sunday, 13 April 2014
Little Bird
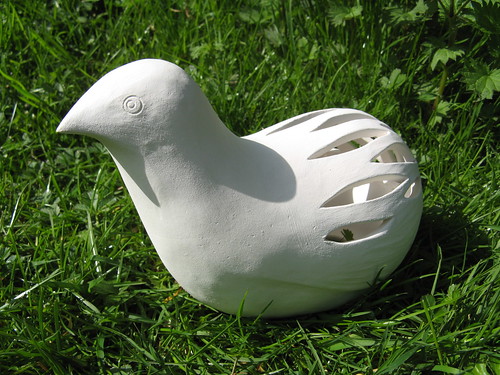
I'd like to introduce you all to Little Bird.
Little Bird is the first sculpture I made after moving the The Grid. I wanted to make a small, simple elegant shape to practice refining my mould making skills on.
He's based on quail which I saw running around at the Stratford Butterfly Farm. I just loved their plump smooth shape.
The Little Bird mould proved to be more of a challenge than I anticipated. I used the waste mould method. First I sculpted Little Bird in clay, then I made a mould of it using alginate and cast a replica in plaster. Then I finally started making the simple two part mould.
So far so good. The first half of the mould popped off perfectly, but the replica would not release from the other side of the mould no matter what.
I'm still not entirely sure what went wrong, it must have been a tiny yet significant undercut.
As a result I had to use the hammer and chisel method to get the replica out of the mould.
Luckily the mould itself survived and I could finally begin casting Little Birds.
Soon I had a whole flock of Little Birds. Making the mould was definitely worth the effort. :)
Little Bird can be used as a tea light, or can be placed in a planter as an ornament or for plants to grow through. Or it can be used in flower arrangements.
The holes in the back of Little Bird are hand cut without a template so each bird is different.
Check back soon for experiments in glazing Little Bird.
Friday, 11 April 2014
Sputnik is Fired!
Subscribe to:
Posts (Atom)