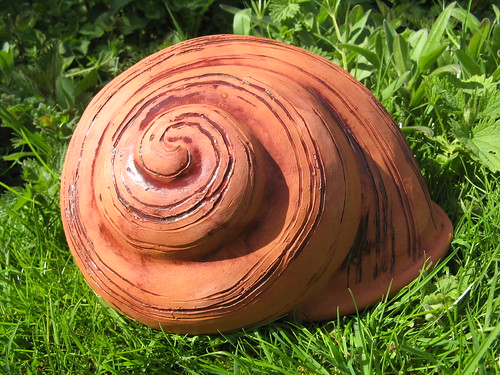
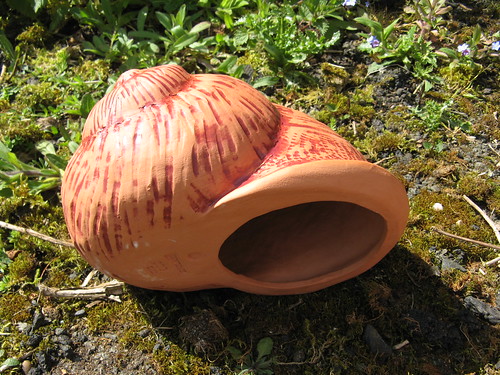
This first snail is my least favourite, aww poor snail, so he gets to go first as compensation.
The marks on his shell were made with a wooden fork and other similar wooden clay shaping tools.
It was hard to get a smooth spiral in the end.
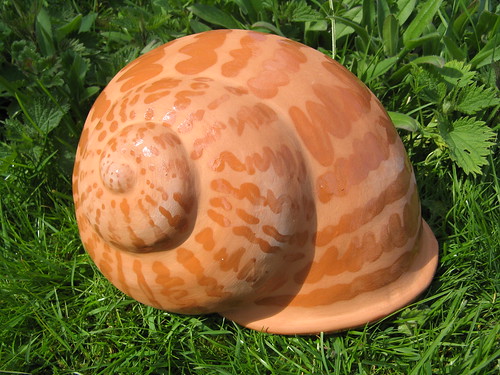
Second we have smooth snail. This snail ended up working out better than I had expected. Once it was fired I thought the plain shell was a bit dull, so I added clear glaze over parts of the shell. I really like how it turned out in the end, it looks particularly good when the sun catches it and brings out the richness of the terracotta. :)
This snail was beaten up by a spatula with string wrapped around it. The texture was a bit too subtle to give the a good depth of texture for the glaze to lay in so it wasn't as successful as I'd hoped.
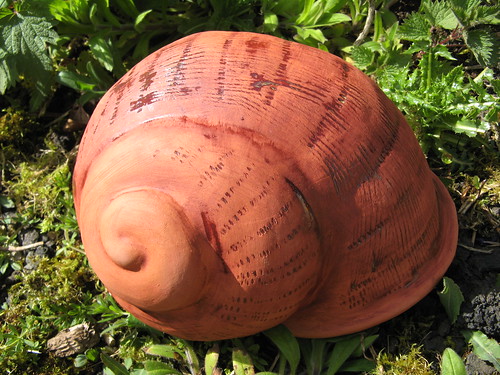
And finally, my favourite of the bunch!
The texture on this snail shell was made using another shell! A large clam shell to be precise. It was the hardest one to texture without cracking the moulded structure but I love the end results!
I used a smaller clam for the finer texture round the lip of the snail shell.
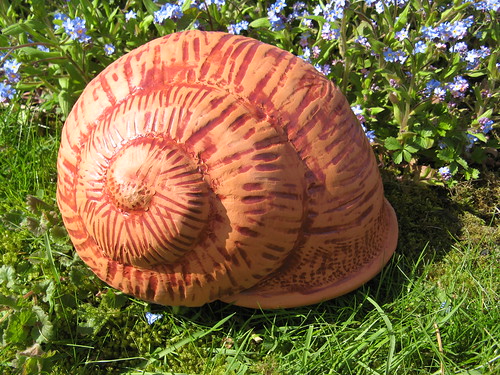
In case you're wondering, here's how the bottom of the shell looks.
You could even lay them on their sides or at an angle and use them as planters. :)
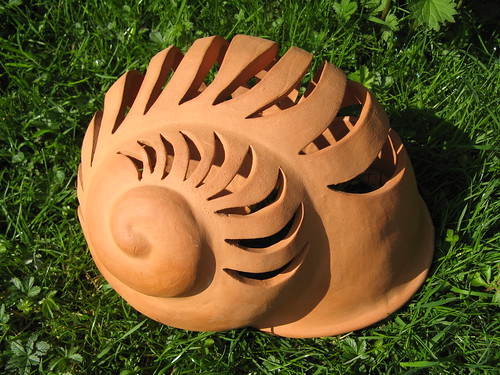
Ok I know I already said 'and finally' but we mustn't forget ole gappy here.
I like how this shell looks so it didn't need to be glazed.
So which shell is your favourite?
Leave a comment and let me know. :)

No comments:
Post a Comment